Controllable panoramic images are quite common nowadays. It simply is a type of photo where you can drag and move the subject from left to right or vice versa.
It is extremely useful as people are now able to drag and view products before they buy it. This ensures further traction into the website in case the competitors are not doing something similar.
If you are a seller, you should get used to the 360 spin technique as this is the perfect time to use it and generate leads for your eCommerce product.
What do you need?
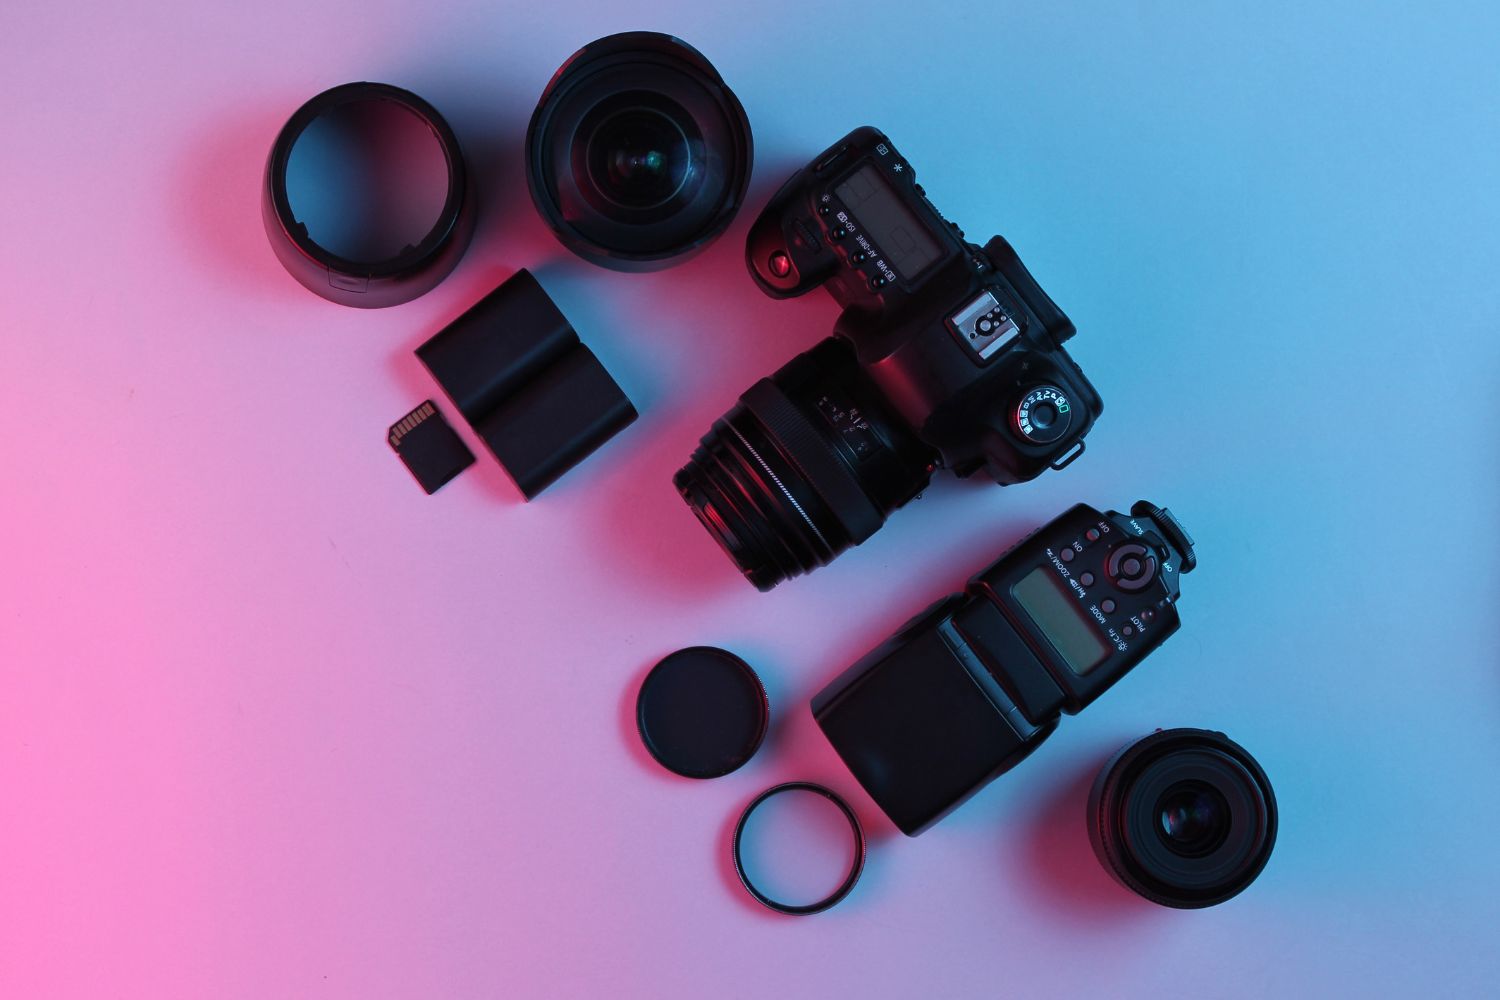
1. Camera
You must have a DSLR or Mirrorless camera. Entry level DSLR cameras are quite cheap and sophisticated. If used with proper care, it can be a great advantage for you whereas mirrorless cameras are always fun and easy to use.

Along with the camera, you will need a zoom lens as your product sizes may vary.
2. Tripod
Now you need a place for setting up the camera. For this you have to choose a good tripod.

The cheap tripods out there are not preferred as they are usually shaky when taking pictures. We need to avoid this for the sake of accuracy in the photo.
3. Lighting
No photoshoot is a photoshoot without proper lighting. While sunlights can be a great alternative for shooting under light, studio lights are a Go-To for 360° spin shots.

4. Turntables
While there are many turntables like Arqspin1, Digital photo solution limited1, glide gear2, Hensel8, etc. you can choose any of them depending on your budget.

5. Tile or Cardboard
This is going to be used as your platform to place the product on. Glue the piece that we are using to the turntable.
Tile is a decent platform for this as it may contain textures or designs. Meanwhile the cardboard might get the job done but it won’t be wise.
How to set up 360 spin product photography studio and shoot.
Using glue or tape, attach the tile or cardboard on the turntable. Then place the product on top of the platform.
Attach a tape measure on the table and place a pen pointing towards the measurements. This is done to ensure that we do not move the table too far.
How to shoot 360 spin photo.
Before you actually start shooting, place the product on the table and spin it around a few times. This is done to ensure that the product is in the proper place and the platform is balanced.
If the platform is shaky, readjust the position of the platform and try again. This may take some time to fix near perfection so have some patience.
After you are done positioning the product and the platform, now set up the lights. For this, place a light on top of the table with a diffuser attached to it for adding a bit of soft contrast.
Place a second light facing on the background behind the product to show off the background of the product enhancing the liveliness of the product.
Now place the camera on a tripod and using the focus ring, adjust the sharpness of the picture.
If you have sufficient light then you can set the aperture to anything above f/8 otherwise use a lower one.
For ISO, it is suggested to use ISO 100 as this will not bring up any kind of noise in the image.
If you are using the camera’s flash then you will not be able to go beyond a shutter speed of 1/200 otherwise your shutter speed will not sync with the lights.
You have to repeat the above steps a few times and then select the overall best photos.
Now that you have done that, it is time for editing. Import all the files in lightroom and click CTRL+A to apply the same editing for all the selected files.
Fix your tone of the images, color gradient and all the other elements and upload the pictures in a 360 viewer software.
There are many free softwares available on the internet for you to use so you can choose any of them. For any software you choose, it will finish uploading the pictures and a cropping tool will appear for you to adjust the sizes.
Once you finish dragging and sizing the picture you will be left with a 360° animation of the final product that you have just shot.
Conclusion
360° images are very trendy right now as they can be used to analyze a product before buying.
Using the techniques mentioned above, you can also create your own 360^ image and put it up on your website for getting traction.