When it comes to photography, your background is the backbone of your photo. Choosing the best background for product photography says how expert you are. You need to know what color background goes with the product that you are shooting.
A good background should enhance your photo and not take away from the subject you are trying to capture.
There are quite a few types of backgrounds you can work with. Let them be White, Black, Textured, Multi-colored, or Natural.
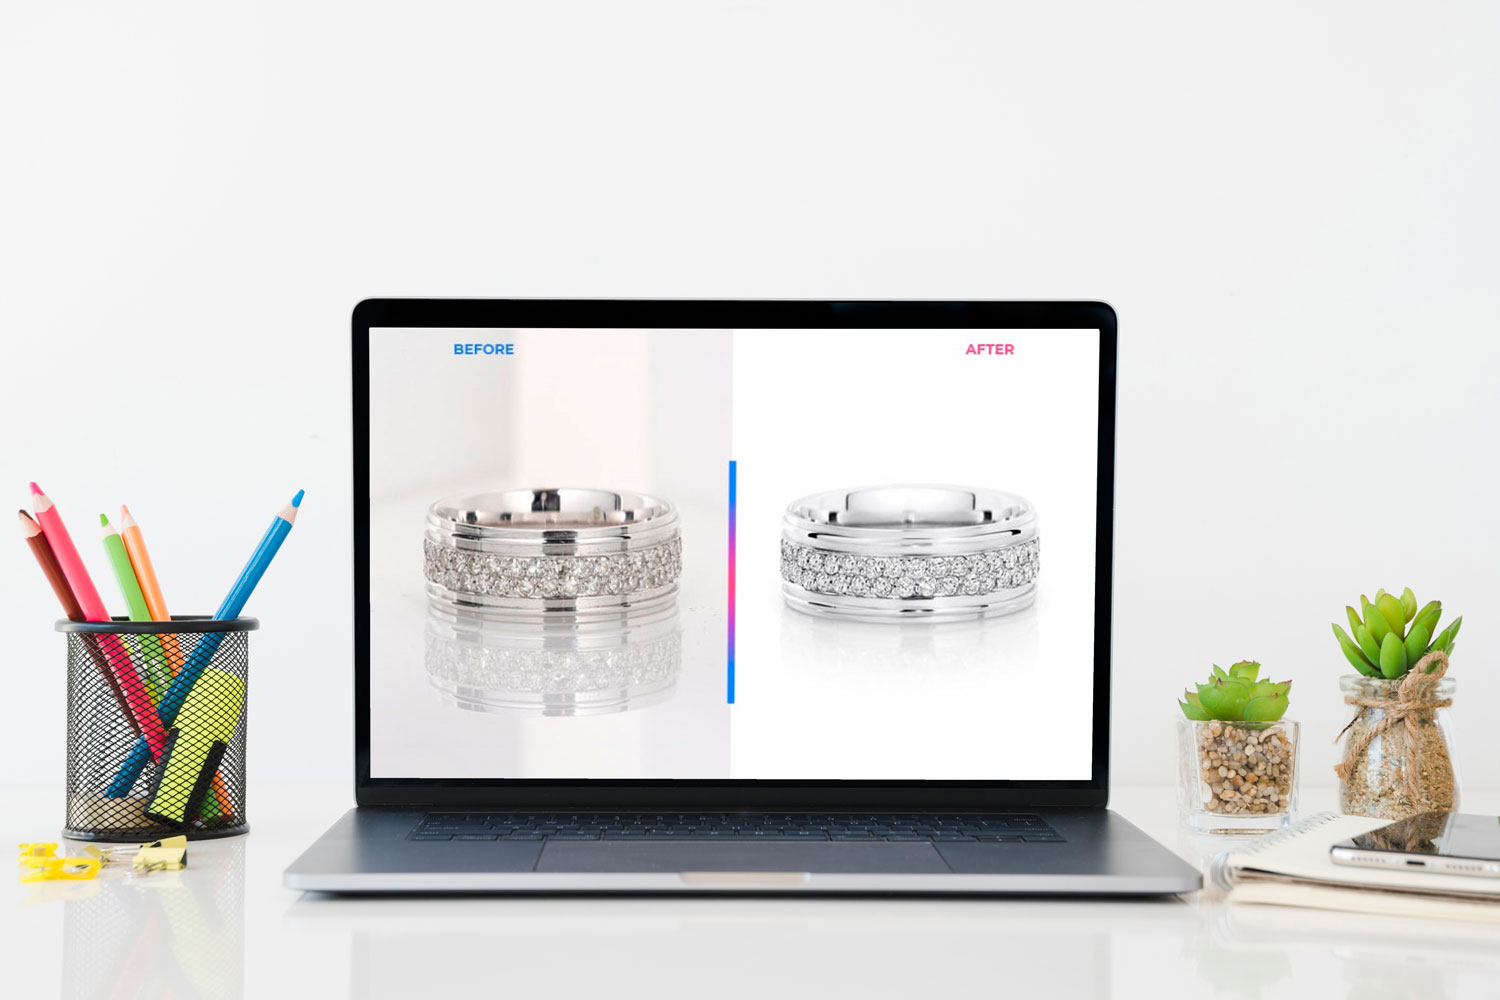
When it comes to product photography, it is best to use solid white backgrounds as it can make your product more detailed.
In case you don’t have a solid white background, you can go for Black, Gray, or any other solid color depending on your product color.
If your subject for the photo is single coloured, then textured or multi colored backgrounds are also worth trying.
Choosing a Background
1. Avoid Visual Noise
When shooting a photo, the simplest backgrounds are the least distracting.
When there is no visual noise, the subject of the photo automatically becomes eye-catchy. This further causes traction into the website as the picture looks much cleaner.

2. Analyze the Colors of the Subject
Understand the agenda of shooting the picture. Are you shooting in portraits or artistic images or press images? Depending on your agenda, differentiate between the colors of the subject or product. If it is multicolored then choose a solid colored background.
If the subject is single colored then choose a background with a few different colors. Textured backgrounds or canvas backgrounds are best to use.

3. Choose Proper Lighting
Even if your background doesn’t go with the subject, you can always bring changes to your lighting to make it look perfect. Adjusting the brightness of the lights or focus points can bring drastic changes.
If you have a textured or canvas background then adjusting the light intensity will make it look more detailed.
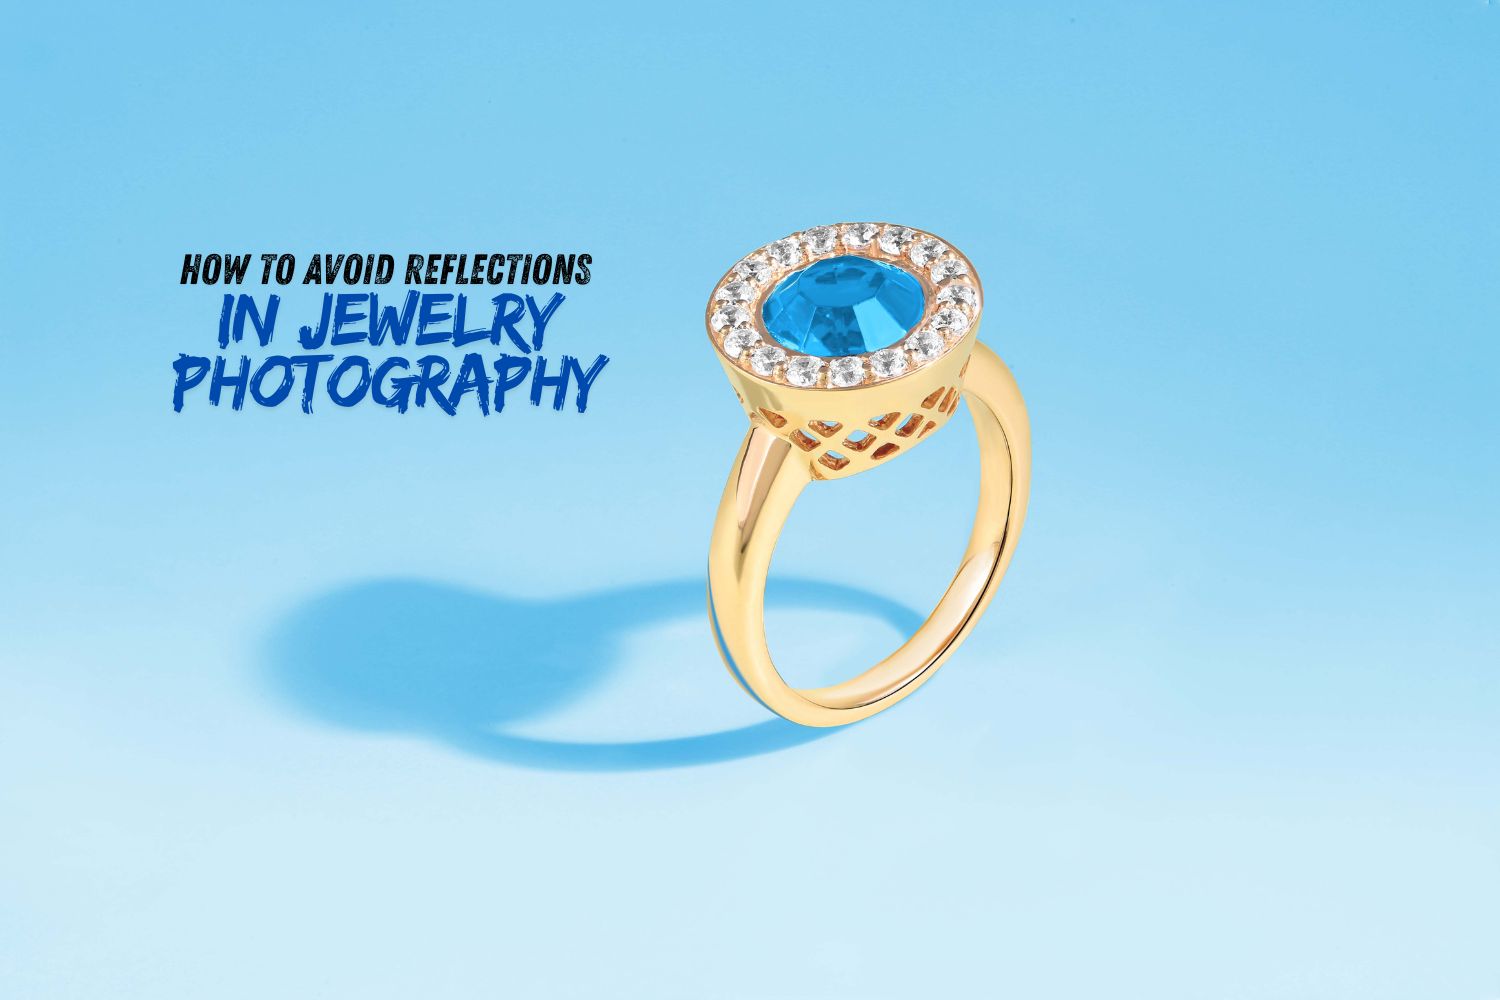
When varying the intensity, make sure to avoid reflections on the subject otherwise it’ll be totally worthless.

Post-processing/editing.
Editing plays a big part in your photoshoot as it can be the game changer of the looks of your photo.
When you don’t have proper lighting, your background may look dull and negatively impact your photo quality. You can always boost up the light intensity by editing.
Or, maybe your background is causing trouble differentiating the colors. Try changing the tone and background blur of your photo.

Depth of field.
When you’re shooting outdoors, it is usually difficult to find a smooth background.
The easiest and most proficient way to do so is to use a shallow depth of field. This can be done by setting your camera’s aperture at around f/2.
This will blur the background and give the subject a more delightful focus to make it look better. This effect is known as bokeh which is usually done with similar looking patterns or lighting.

Patterns.
Our brains love to put things in order. So during the photo shoot, try putting the subject in front of geometrically symmetrical patterns. This disruption will create a balance between the background and the photo.
Placing the subject in front of a pattern causes breakage in that pattern catching the audience’s attention in the photo.

For editing, the following applications are best for use;
- Adobe Lightroom
- Adobe Photoshop
- Snapseed
- Afterlight
- Photo lab
- Hypocam
- GIMP
- Affinity Photo
Backgrounds are the make or break of your photos. Choosing the wrong ones will either ruin your whole photo or shift focus from the subject.
For product photography, it is always best to go for white backgrounds. Whereas, for normal portrait photography it is best to use a shallow depth of view with a textured or natural background.