Did you know that you can make money out of your hobbies besides your regular 9-5 jobs? It doesn’t matter if you are managing your own business either, having a second source of income is always important.
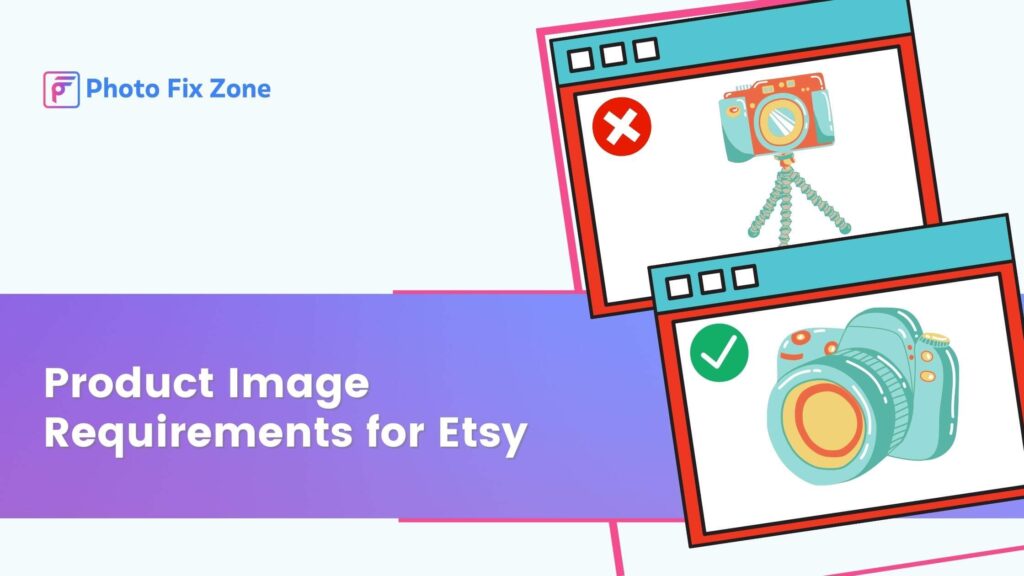
According to Wikipedia, with over 80 million users and just over 4.3 million sellers, Etsy is the biggest marketplace to sell your artwork. A lot of people know about this, but don’t know product image requirements for Etsy and how to sell your product properly.
The majority of people, love to build artworks and crafts as a hobby from which they can make money if they knew how to sell on Etsy using proper imaging.
If you’re trying to sell on Etsy, you need to understand how the right images of products convert sales.
Types of photos to use
The main image in the listing should be horizontal and has to be very detailed. In fact, all the photos need attention to detail to make the audience feel like they are watching the product on their hands.
Take close-up shots from a few angles respecting the lighting on every side and a few distant shots to bring out the life of the masterpiece.
The more the audience feels connected to the photos, the higher the chance is to buy the product.
1. Shooting at eye level.
This is one of the best possible shots to hook your audience with. If your craft is the size of your palm, then simply lay it on a table and position your camera at that same level.
The shot that you get is known as an eye-level shot as it looks like the product is right in front of the audience’s eyes giving it a more natural look.

2) Flat-lay photoshoot.
If you don’t have a quantitative amount of time for the shooting, you can lay the products on a flat surface (with smooth or textured background) and then execute the shot.
These types of shots are likely to cause traction in your portfolio as they are trendy in the market.
It is recommended to use the most creative table or surface for this shot. Creative as in, use a wooden table for its aesthetics and texture, a canvas surface with a lot of designs.

3) Studio shot.
It is the simplest shot with the simplest solid colored background that shows the details of the product to the customers. When a customer sees this type of shot, they get a clear idea of what they are buying.
Hence, these types of shots build up credibility that the seller is not a scammer. So next time shoot a bunch of these shots from different angles to gather some legit attention to the details of your product.

4) Lifestyle based shots.
This is the type of shot that is going to bring life as the name says. What makes them so different from the rest of the types is their aspiration for getting the product.
Hinting to the audience what their life would be like if they have this product is a great way of promoting the product.

5) Close-up shot.
It is extremely important to put in the hard work and show the details of the product so that customers can really understand what they are purchasing.
A craft can look smooth surfaced on normal pictures and very well textured on close-up shots. That is the reason to bring out the little details it which makes all the difference between an ordinary seller and a great seller.

6) Set photos.
Single shots are always good for close-up details and all, but a set of photos is gonna convert more sales.
For this technique, you need to shoot at least seven to eight shots of the same product from different angles. The shots can be from the upper part, lower part side parts, slanted angles, etc. The shots are then collaged together and presented.
This technique works because the human brain likes to see things organized together. Therefore, this will catch the audience’s attention right away.

7) Use a light diffuser.
Whether you use natural light or studio lights, a diffuser will automatically make the artwork look more natural.
If you don’t want to use natural light or don’t have studio lights, you can simply take a torch and put on a thin tissue paper or a white paper wrapped around the tip of it.
This tissue is your diffuser which is now going to enhance the ambiance of your artwork.

8) Choose a proper background.
Depending on your artwork or craft, differentiate between the colors of the subject. If it is multicolored then choose a solid colored background.
If the subject is single colored then choose a background with few different colors. Canvas backgrounds and textured backgrounds are a good option here but nothing beats a natural background!

Tips for listing images.
- Product pictures should be big enough for the audience to get a proper idea of it.
- Use the same background for all the images. For example, if your main image has a white background; then the listing images should also be considered to have a white background.
- Use props in the background(natural background) to give context to the artwork or crafts used. This shows a properly scaled product for the audience.
- Be creative while shooting the product. The more engaging the image is, the greater the traction will be.